Replace the Propshaft Rubber Coupling with a Regular u-Joint – Discovery 1
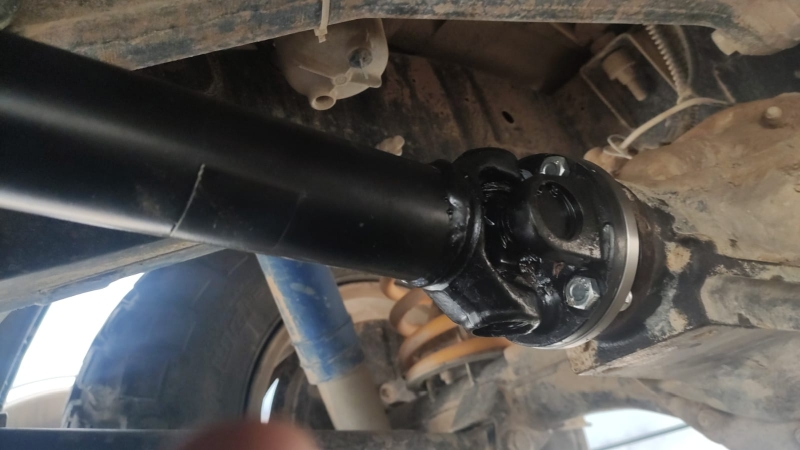
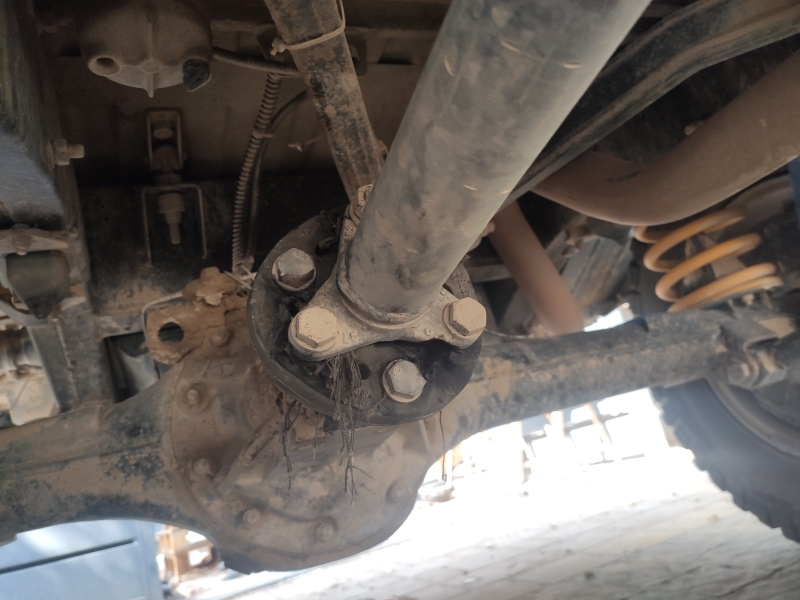
During the last off road trip I started to feel some vibrations. They were pretty disturbing, but, we managed to get home and there I went down and look under my disco, that what I saw:
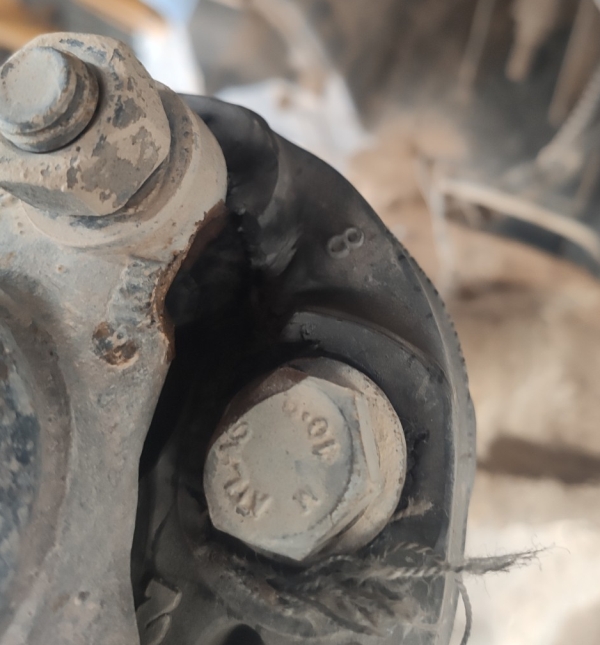
Closer look and you’ll see the damaged bolts and yoke:
My disco has 2″ lift kit and I replaced that coupling rubber 3 years ago, I never trust that rubber, so I decided to look for other solution, trying to replace it with a regular U-Joint.
It appears that Land Rover Discovery 1 up to 1994 was manufactured with a regular u-joint. that rubber thing appeared from 1994 as an improvement (reduce vibrations, I guess). Anyway, it seems that all I need was to go back in time and install a new driveshaft with a matching yoke, it should be a “bolt-on” change.
The parts needed for the conversion:
- Rear diff yoke: STC4858 (it arrives with new oil seal and a new bolt)
- New driveshaft with 2 u-joints: FRC8387
- bolts kit: DA1424
The Tools you will need:
- 2 14 mm wrenches
- 19 mm socket + wrench
- 15 mm socket + impact tool (to open the yoke central bolt)
- 8mm bolt to extract the old yoke pivot out
- big socket to use with the 8 mm bolt (I used a 50 mm socket)
- big flat screwdriver
- Small hummer to insert the new oil seal
The work itself:
- Remove the old coupling rubber using the 19mm socket & wrench (6 bolts)
- Remove the 4 14 mm nuts of the driveshaft from the parking brake drum.
- Remove the old driveshaft
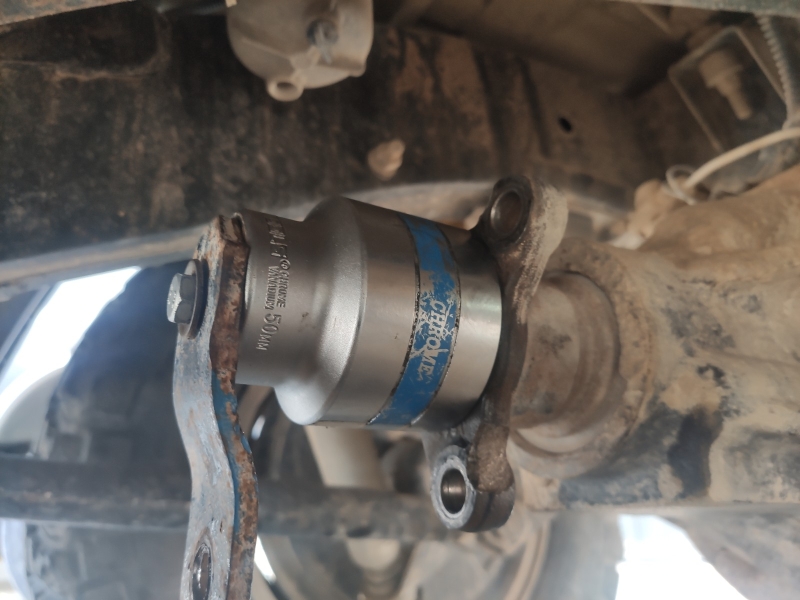
- Extract the old yoke pivot out using the big socket and the 8 mm bolt, see the pictures below (first, clean the 8mm hole so it would be easier to screw it):
insert the 8mm bolt and start to tight it, eventually, it should pull the pivot out of the yoke.
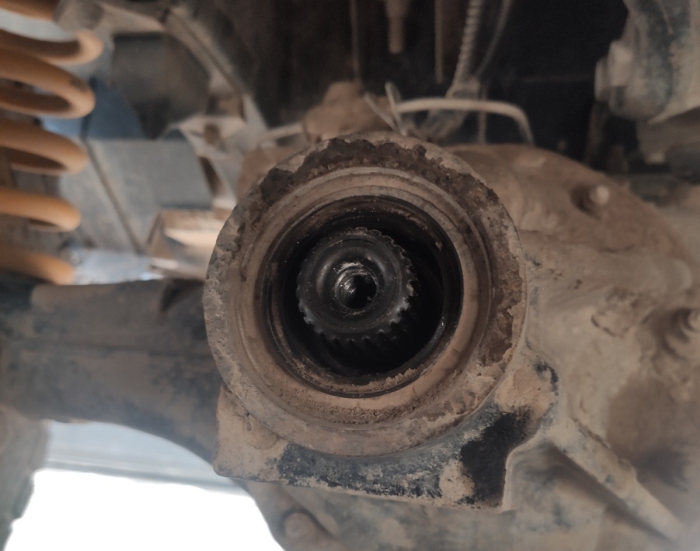
Pull the old yoke out (open the central bolt using the 15mm socket and probably an impact wrench/long handle), then, clean the area and pull out the old oil seal. Install the new oil seal and the new yoke (flange kit STC4858)
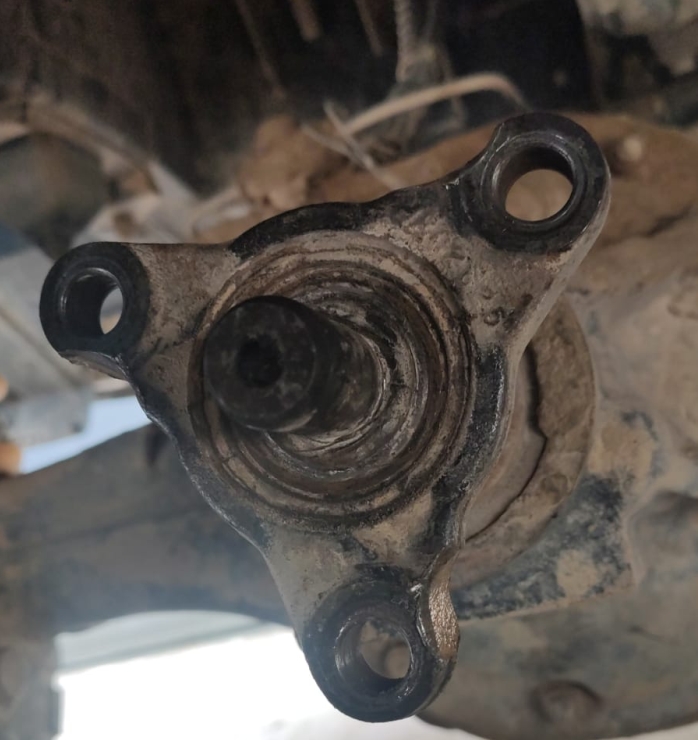
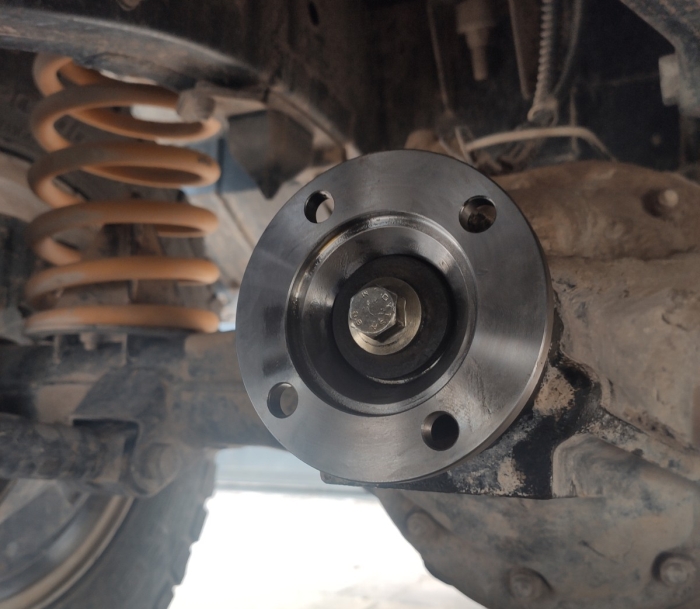
The new flange kit installed:
Now, install the new driveshaft…