How to add Side Hatches to a Land Rover Discovery 1 – Step by Step Guide
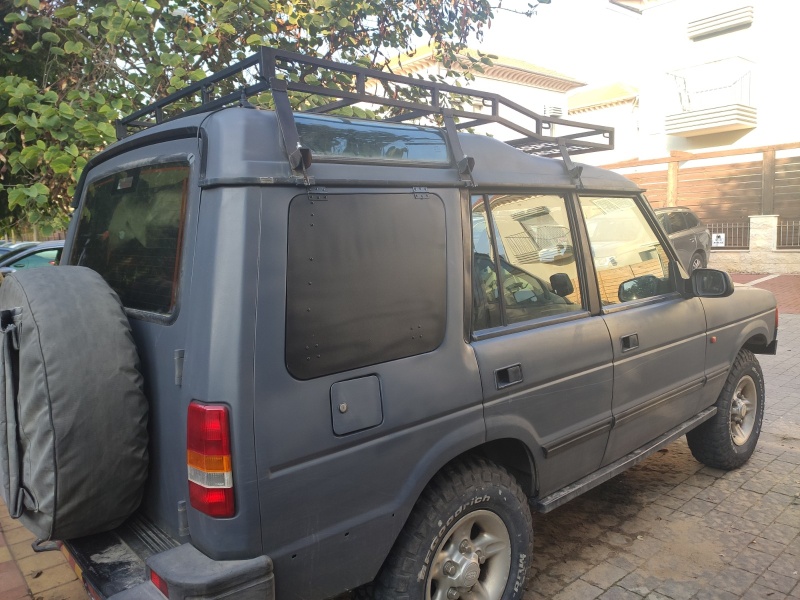
Our Discovery has pretty large rear windows, if you are not using seats #6 & #7 then replacing at least one of them with a side hatch might be a nice idea that will help you access the trunk during your adventures.
So, how do we do that? what do we need?
- Aluminum sheet 2.5-3.5mm – at least 65×65 cm for each side.
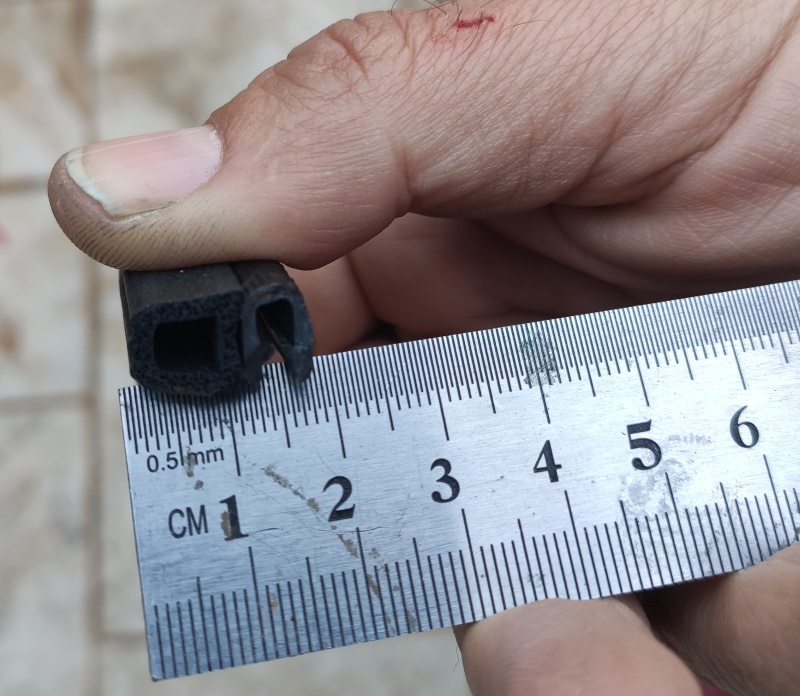
- New rubber seal, ~2m of a “D” seal
3. 2 hinges for each side, stainless steel would be better
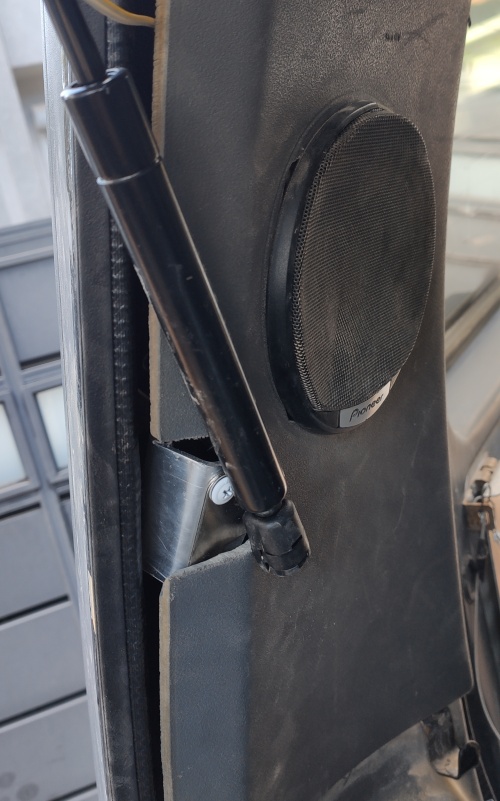
4. Trunk shock absorber: 30cm long, 280NM. (one for each side does the work for me)
5. Locks: I used electric ones, you can use any kind that you want (I didn’t want an extra key so the electric ones were better for me)
6. 4-5mm rivets: as many as you need for the hinges and locks.
7. Paint.
Required tools:
- Sharp knife
- Drill
- Jigsaw
- Rivets gun
- Screw Driver
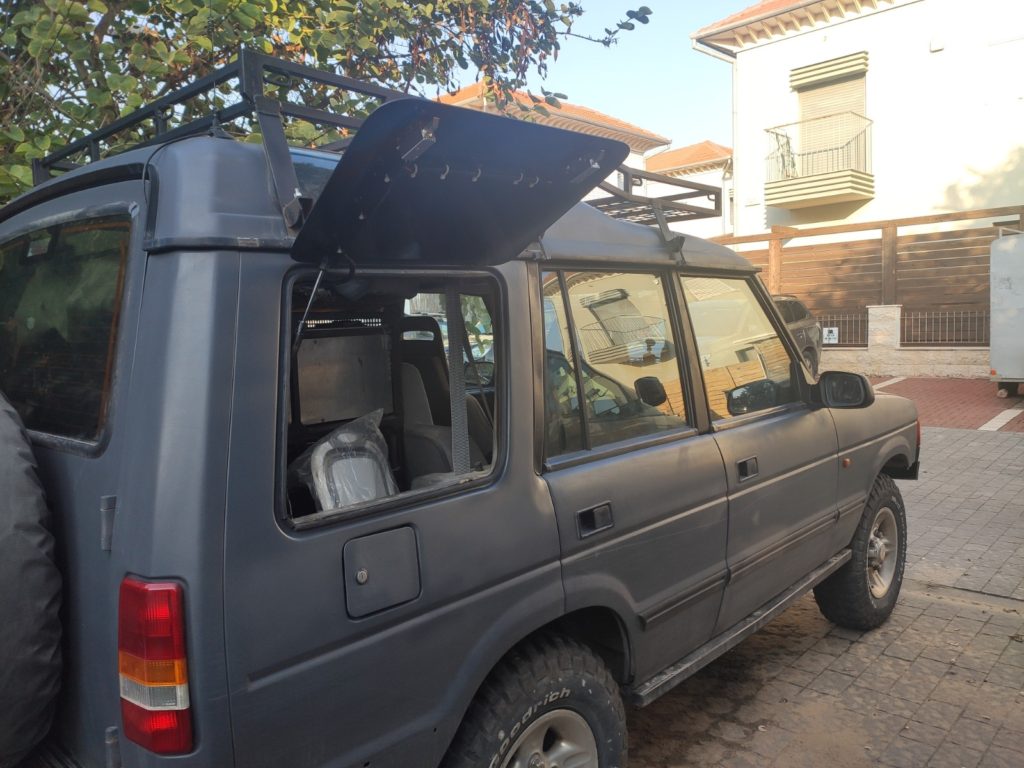
- First, carefully, remove the window. Cut the rubber seal while holding the window. You will need the window later (to copy its shape).
2. Copy the window shape on the Aluminum, add 8-10mm around it (from each side)
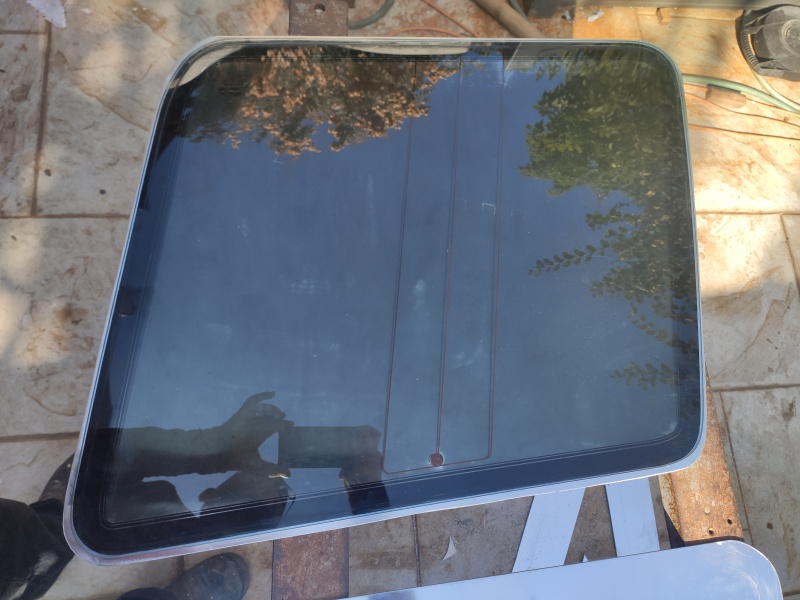
3. Cut the Aluminum to the required shape.
4. The window is not flat, bent the new Aluminum “window” to the required shape, is might not be the exact curve, “close” would be enough.
5. Install the new seal. Locate the new hatch on the Disco, mark and drill the holes for the hinges rivets. I used screws for the building process, I replaced them with rivets only after the painting.
6. Locate the locks, cut/drill according to the lock type that you are using. I used these locks from Banggood.com.
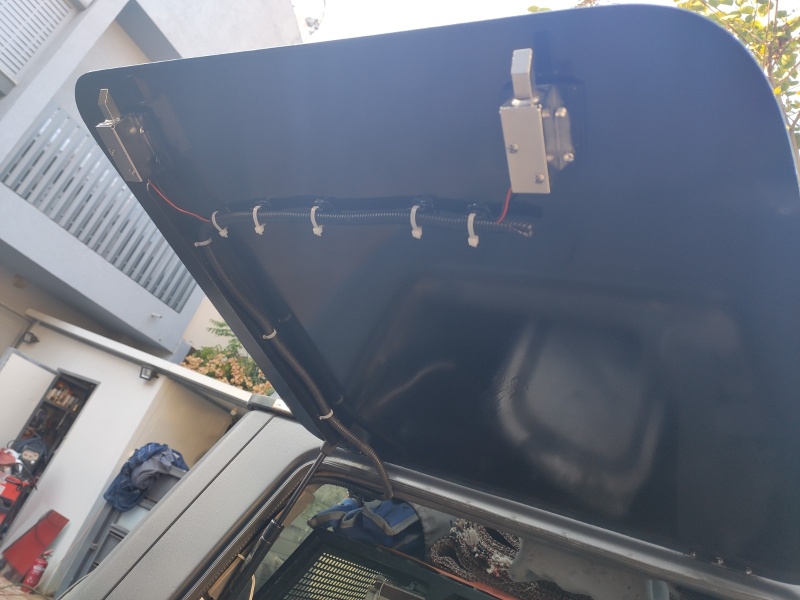
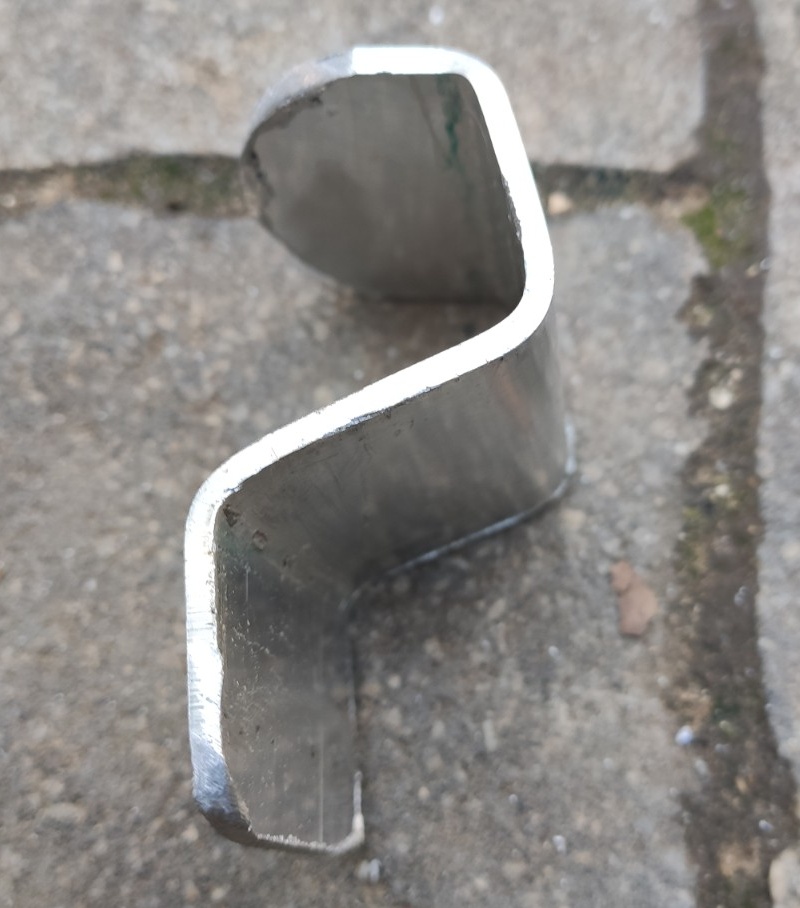
7. Locate the shock absorber, create a mount (see the pictures below):
8. Paint the new hatch.
9. Install everything in place…
You can see most of the process in the video below: